Hey fellow crafters,
Cherry wood and I have history. One of my early pours went straight onto a hexagon-routed but unsealed cherry panel, and I got a forest of bubbles instead of the clean surface I had in mind - I still use that photo in my beginner mistakes guide as a warning to us all.
These past two weeks, cherry was back on my bench. The July Guild draw project is a cherry wood serving tray with coffee beans and malachite stones cast in resin. I couldn't decide whether a transparent or a black background looked better, so I made both variants. Decide for yourself which you like better - more on that below.
So it felt like the right week to revisit the mistakes that taught me the most. You're bound to make a few of your own (we all do), but you can skip the worst ones.
Today's Lineup:

1. This Week's Insight:
The Mistakes That Taught Me the Most
I've stumbled into nearly every epoxy mistake imaginable - ratios that never cured, a batch that overheated because I mixed too much at once, bubbles I hoped would just disappear on their own. The pattern behind most of them? The failure happens before the pour, in the prep and the choices you make first.

Here's the short version for now:
Casting resin and coating resin are not interchangeable. Deep pours need casting resin; surface work needs coating or doming resin. The wrong type can mean the difference between a crystal-clear pour and a bubble-filled mess.
Seal porous wood before the main pour. Raw wood outgasses into your resin. I skipped this once - never again.
Measure the exact ratio your resin specifies (1:1, 2:1) and scrape the sides and bottom while mixing. Incomplete mixing means tacky spots and uneven cure.
Cure between 21-29 °C (70-85 °F). Too cold and it won't cure; too hot and you risk an exothermic reaction. Avoid mixing large batches in one go.
Stir slowly, let the mix rest a few minutes, then a quick heat gun pass after pouring. Keep the heat moving or you'll scorch the surface.
Epoxy shrinks roughly 1-5% as it cures. Slightly overfill your mold and pour thick projects in multiple thinner layers.
My take: Every one of these mistakes made me a better maker - but the cheapest lesson is the one you skip. Almost everything on this list traces back to rushing: the prep, the mixing, the cure. Slow down at the start and the rest gets simpler.
📖 Continue reading: Beginner Epoxy Mistakes: Lessons I Learned the Hard Way
2. Project Inspiration:
Cherry Tray with Coffee Beans & Malachite
This is the piece heading to one Gold Guild Patron in the July Makers Draw: a cherry wood serving tray with real coffee beans and malachite stones cast in resin. The project takes three separate resin layers, but the most critical step is sealing the porous beans as well as you can before the pour - then spending time chasing out the bubbles that keep rising afterwards.

Transparent

Black background
Transparent versus black - my own vote goes to the black background, and that's the variant on offer as the July Guild supporter gift. The draw will be held on July 12, 2026 at 22:00 (EU time). Results will be announced on Patreon and here in the next newsletter issue.
If you like the transparent piece, it will be available for sale on the RCG Patreon site.
Check out the video of the finished project:
Design card
Spec | Detail |
|---|---|
Wood | Cherry |
Inclusions | Coffee beans, malachite stones |
Resin | Multilayer CraftResin deep pour epoxy |
Dimensions | Black: 30 x 53 x 2 cm / Transparent: 29 x 44 x 2 cm |
Finish | Rubio Monocoat; epoxy sanded to 400 grit |
Designer's perspective: The contrast is what carries this piece - matte brown coffee beans against sharp green flecks of malachite. The beans absorb the light while the malachite catches it, so the green keeps pulling your eye across the surface. On the black background that contrast is at its boldest; the transparent version softens it and lets the cherry's warmth do more of the talking.
3. Materials & Tools Spotlight:
Rubio Monocoat
Rubio Monocoat is a Belgian wood finish - its flagship Oil Plus 2C is a plant-based hardwax oil that bonds molecularly with the top fibers of the wood, so a single layer both colors and protects. It's 0% VOC and food-contact compliant (which matters on a serving tray), it doesn't build a film, and scratches can be repaired locally without refinishing the whole piece.

When I started my crafting journey I began with no-name hardwax oils, moved on to Osmo, and later to Rubio. Rubio's price per liter is indeed a small fortune. But the other factors may outweigh the price itself:
Ease of use is the most important for me. You apply, then simply rub it dry. Even with Osmo I felt I was always chasing my fingerprints on a not-yet-dry project.
Time spent finishing is tied to that. There's almost no waiting for Rubio to dry, and in most cases you apply just one layer - a huge time saver.
Bottom line: For me, ease of use is the deciding factor - and that's where Rubio wins. You pay a premium per liter, but you get it back in time saved on every project.
4. Quick Win of the Week:
Seal Porous Objects Before You Cast
If you want to embed porous objects in resin - like the coffee beans in my latest project - there's a trick: seal them with hairspray first. Porous material outgasses into your pour (that's where the bubbles come from), and a quick seal shuts that down. Full details in next week's coffee-bean casting guide.
5. Save with the Guild
A couple of deals from partners where you can save on colorants and materials for your next pour.
Artline Resin - Tools, supplies, and colorants for resin and woodworking projects. Worth checking their colorant range alongside the other options here. Click the link or use code ResinCraftGuild for 10% off your entire order.
Eye Candy Pigments - Mica powders, pigment pastes, colorshift and specialty pigments for resin work. One of the most respected colorant brands in the maker community - wide color range, ships worldwide, and they offer sample sets so you can test colors before committing to full sizes. Click the link or use code resincraftguild for 10% off your entire order.
Resiners - Resin, colorants, and casting supplies. Good range of liquid pigments and mica powders alongside their resin systems. Click the link or use code ResinCraftGuild15 for 15% off your entire order.
Affiliate disclosure: Some links are affiliate links. If you purchase through them, I may earn a small commission at no extra cost to you. I only recommend trusted products relevant to the topic.
6. Shape the Guild
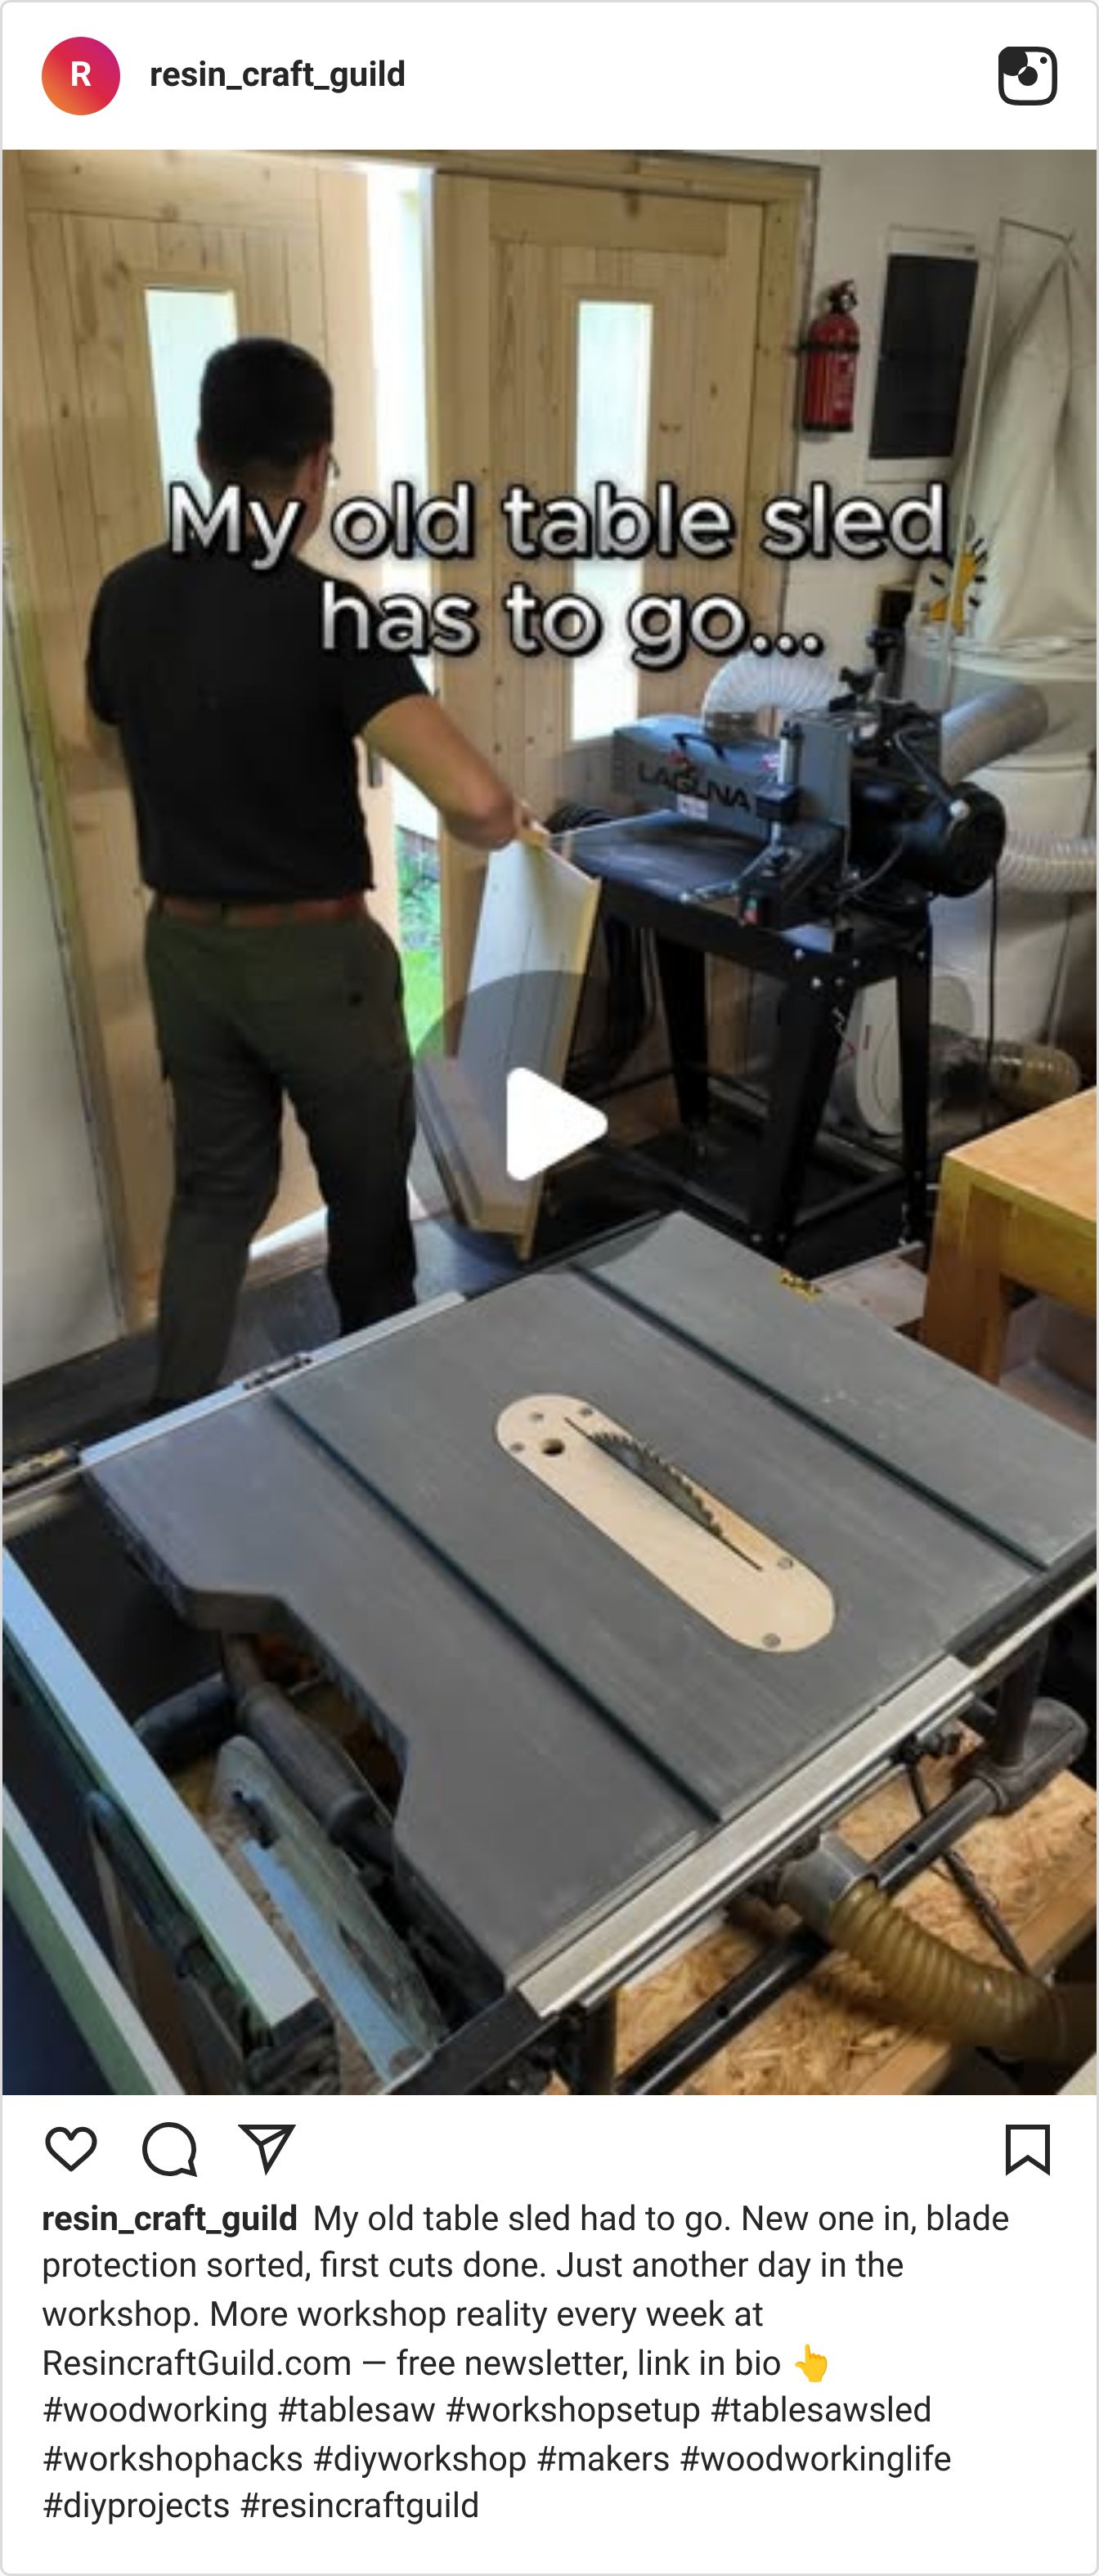
Last week I shared several build videos on my Instagram and YouTube channel. If you want more of my projects and behind-the-scenes, that's the place to subscribe - and if you'd like to help the Guild grow, subscribing on YouTube is where it counts most right now. I'd be truly grateful.
One of my Instagram behind-the-scenes videos even went viral - you might want to see it for yourself:
Next week: the complete guide to casting coffee beans in resin, plus the results of the July Makers Draw.
Petr Resin Craft Guild
www.resincraftguild.com
P.S. Somewhere in my workshop there's still that hexagon cherry panel full of bubbles. I keep it as proof that today's disaster is next year's newsletter material. Go make your mistakes - just make cheaper ones than mine.