
3D Resin Cast
Hey fellow crafters,
You mixed a color that looked perfect in the cup. Poured it. Waited 24 hours. Opened the mold to find something cloudy, muddy, or just not what you expected. The pour itself was fine. The resin was good. So what happened?
Most color problems in epoxy start before the pour - in the choice of colorant and how it's added.
Today's Lineup:
1. Core Insight:
Coloring Epoxy Resin - Full Guide

Coloring questions keep coming in - more than almost any other topic. Why glitter settles to the bottom. Why the color looks right in the cup and wrong in the cured piece. Why a pour that should be transparent comes out cloudy. Why the same pigment behaves differently from one project to the next. These aren't beginner questions - I get versions of them from makers at every level. The answers usually trace back to the same place: colorant choice, loading percentage, and when it goes in. Continue reading below - here's the short version for now:
Key takeaways:
Colorant compatibility matters more than brand - some combinations with certain resin systems cure soft, shift hue, or separate entirely. Most tutorials don't mention it exists as a problem.
The color in the cup is not the color in the piece - wet resin looks darker because the glossy liquid surface reflects more light. Once cured and sanded, it reads noticeably lighter. There's a way to calibrate for this.
Loading limits are real - past around 5-6% by weight, you're not getting more color, you're interfering with the cure. Each colorant type has a different practical range.
The wood species is part of the color equation - the same resin color reads completely differently over ash vs walnut. If you're not testing on the actual substrate, you're not really testing.
Gel phase layering for 3D depth - a technique for creating depth with no visible layer lines on the cast sides. Not something most guides cover.
❝ My take: I started with mica powders and never looked back - but the fundamentals around compatibility and testing apply regardless of which colorant you use. Get those right first. Everything else follows.
One thing I recently came across: Artline Metallic Alcohol Inks. Similar product I haven't seen anywhere else and the final effect looks very attractive - I'm going to test them in the near future and will report back.
📖 Continue reading: How to Color Epoxy Resin: Complete Pigments & Dyes Guide (2026 Edition)
2. Project Inspiration:
Oak + Malachite Art Piece
This art piece is finished. An oak board, 37x62cm, with two very different techniques in the same piece - and that tension is exactly what makes it work.

Oak + Malachite Art Piece
The oak side carries crushed malachite inlays routed directly into the wood. The resin section is ground brown - an earthy, warm base - with deep malachite veins running through it. Those veins are poured proud, then the whole surface is brought back flat with a final coat of transparent resin. One piece, three distinct material moments: raw oak, stone inlay, and colored resin with veining. The depth in the resin section is real - each element is a separate pour, built up layer by layer.
Curious about the build already? The full article is being written - but the process is already on YouTube Shorts. If you find it useful, a subscription would mean a lot.
Wood | Oak |
Size | 37 x 62 cm |
Inlay | Crushed malachite (routed into oak) |
Resin base | Ground brown epoxy |
Veins | More malachite |
Resins | Artline Crystal + Wood Pro |
❝ Designer's perspective: the brown base grounds the malachite rather than competing with it. Against a white wall the green reads as the accent. Against warm wood tones the whole piece pulls together as one material language. Hang it where the light hits at an angle - the veining picks up depth you won't see in a flat photo.
Help me decide - wall art or small table?
The final use for this art piece is still open. I prefer functional pieces - and I keep coming back to the idea of turning this into a small, unique table. The dilemma is the surface. The glass-polished finish looks incredible but it is too scratch-prone for daily use. The practical fix would be to sand it back and apply a fresh top coat of epoxy - more durable, still clear, but not mirror-bright. I genuinely have not decided.
Wall art or small table?
Reply with your vote. I'll go with the majority - and document whatever the conversion process looks like.
3. Materials & Tools Spotlight:
Artline Crystal + Wood Pro
When I was planning this malachite inlay piece, I got in touch with Natalie, founder of Artline Epoxy. She agreed to partner on the project and give me the opportunity to test their products properly. What follows is my honest feedback.

Artline is a European brand - based in Slovenia - which matters to me directly. I'm in Europe too, so no customs fees, no transatlantic shipping delays. They cover the full range from jewelry and thin castings to deep pour wood projects, resin is food-safe, and orders come with two pigments included. Free shipping across the EU from €150.
For this project I used Wood Pro epoxy for the deeper casts - the main resin body where pour depth and structural capacity matter most. 3:1 by weight, up to 5-6cm per layer, self-leveling. It handled the brown base and the structural sections without any issues.
Crystal Resin took care of the malachite veins and inlays - the detail work where low viscosity and control matter more than depth capacity. 2:1 by weight, 60-minute pot life, maximum 2cm per pour. That fluid texture is exactly what you want when filling tight routed channels or pouring fine veins without trapping air.

So how is my Artline experience and conclusion?
Odour: noticeable, but nothing a well-ventilated workspace won't handle.
Mixing: requires at least 20°C. Above that, no issues at all. Below it and you're asking for trouble - this is not specific to Artline, but worth knowing before you start a winter workshop session.
Air release: very good. Bubbles find their way out without much encouragement. For the closing veins I used transparent Artline Crystal combined with vacuum degassing and very careful pouring. Not a single microbubble in the cast.
Clarity: very good. The malachite green reads exactly as mixed, no cloudiness or shift in the cured piece.
Yellowing: too early for a final verdict, but a Crystal sample has been sitting outside in direct sun for some time and still looks clear. Promising.
Cutting and sanding: very easy with the right discs. No complaints at any grit stage.
4. Quick Win of the Week
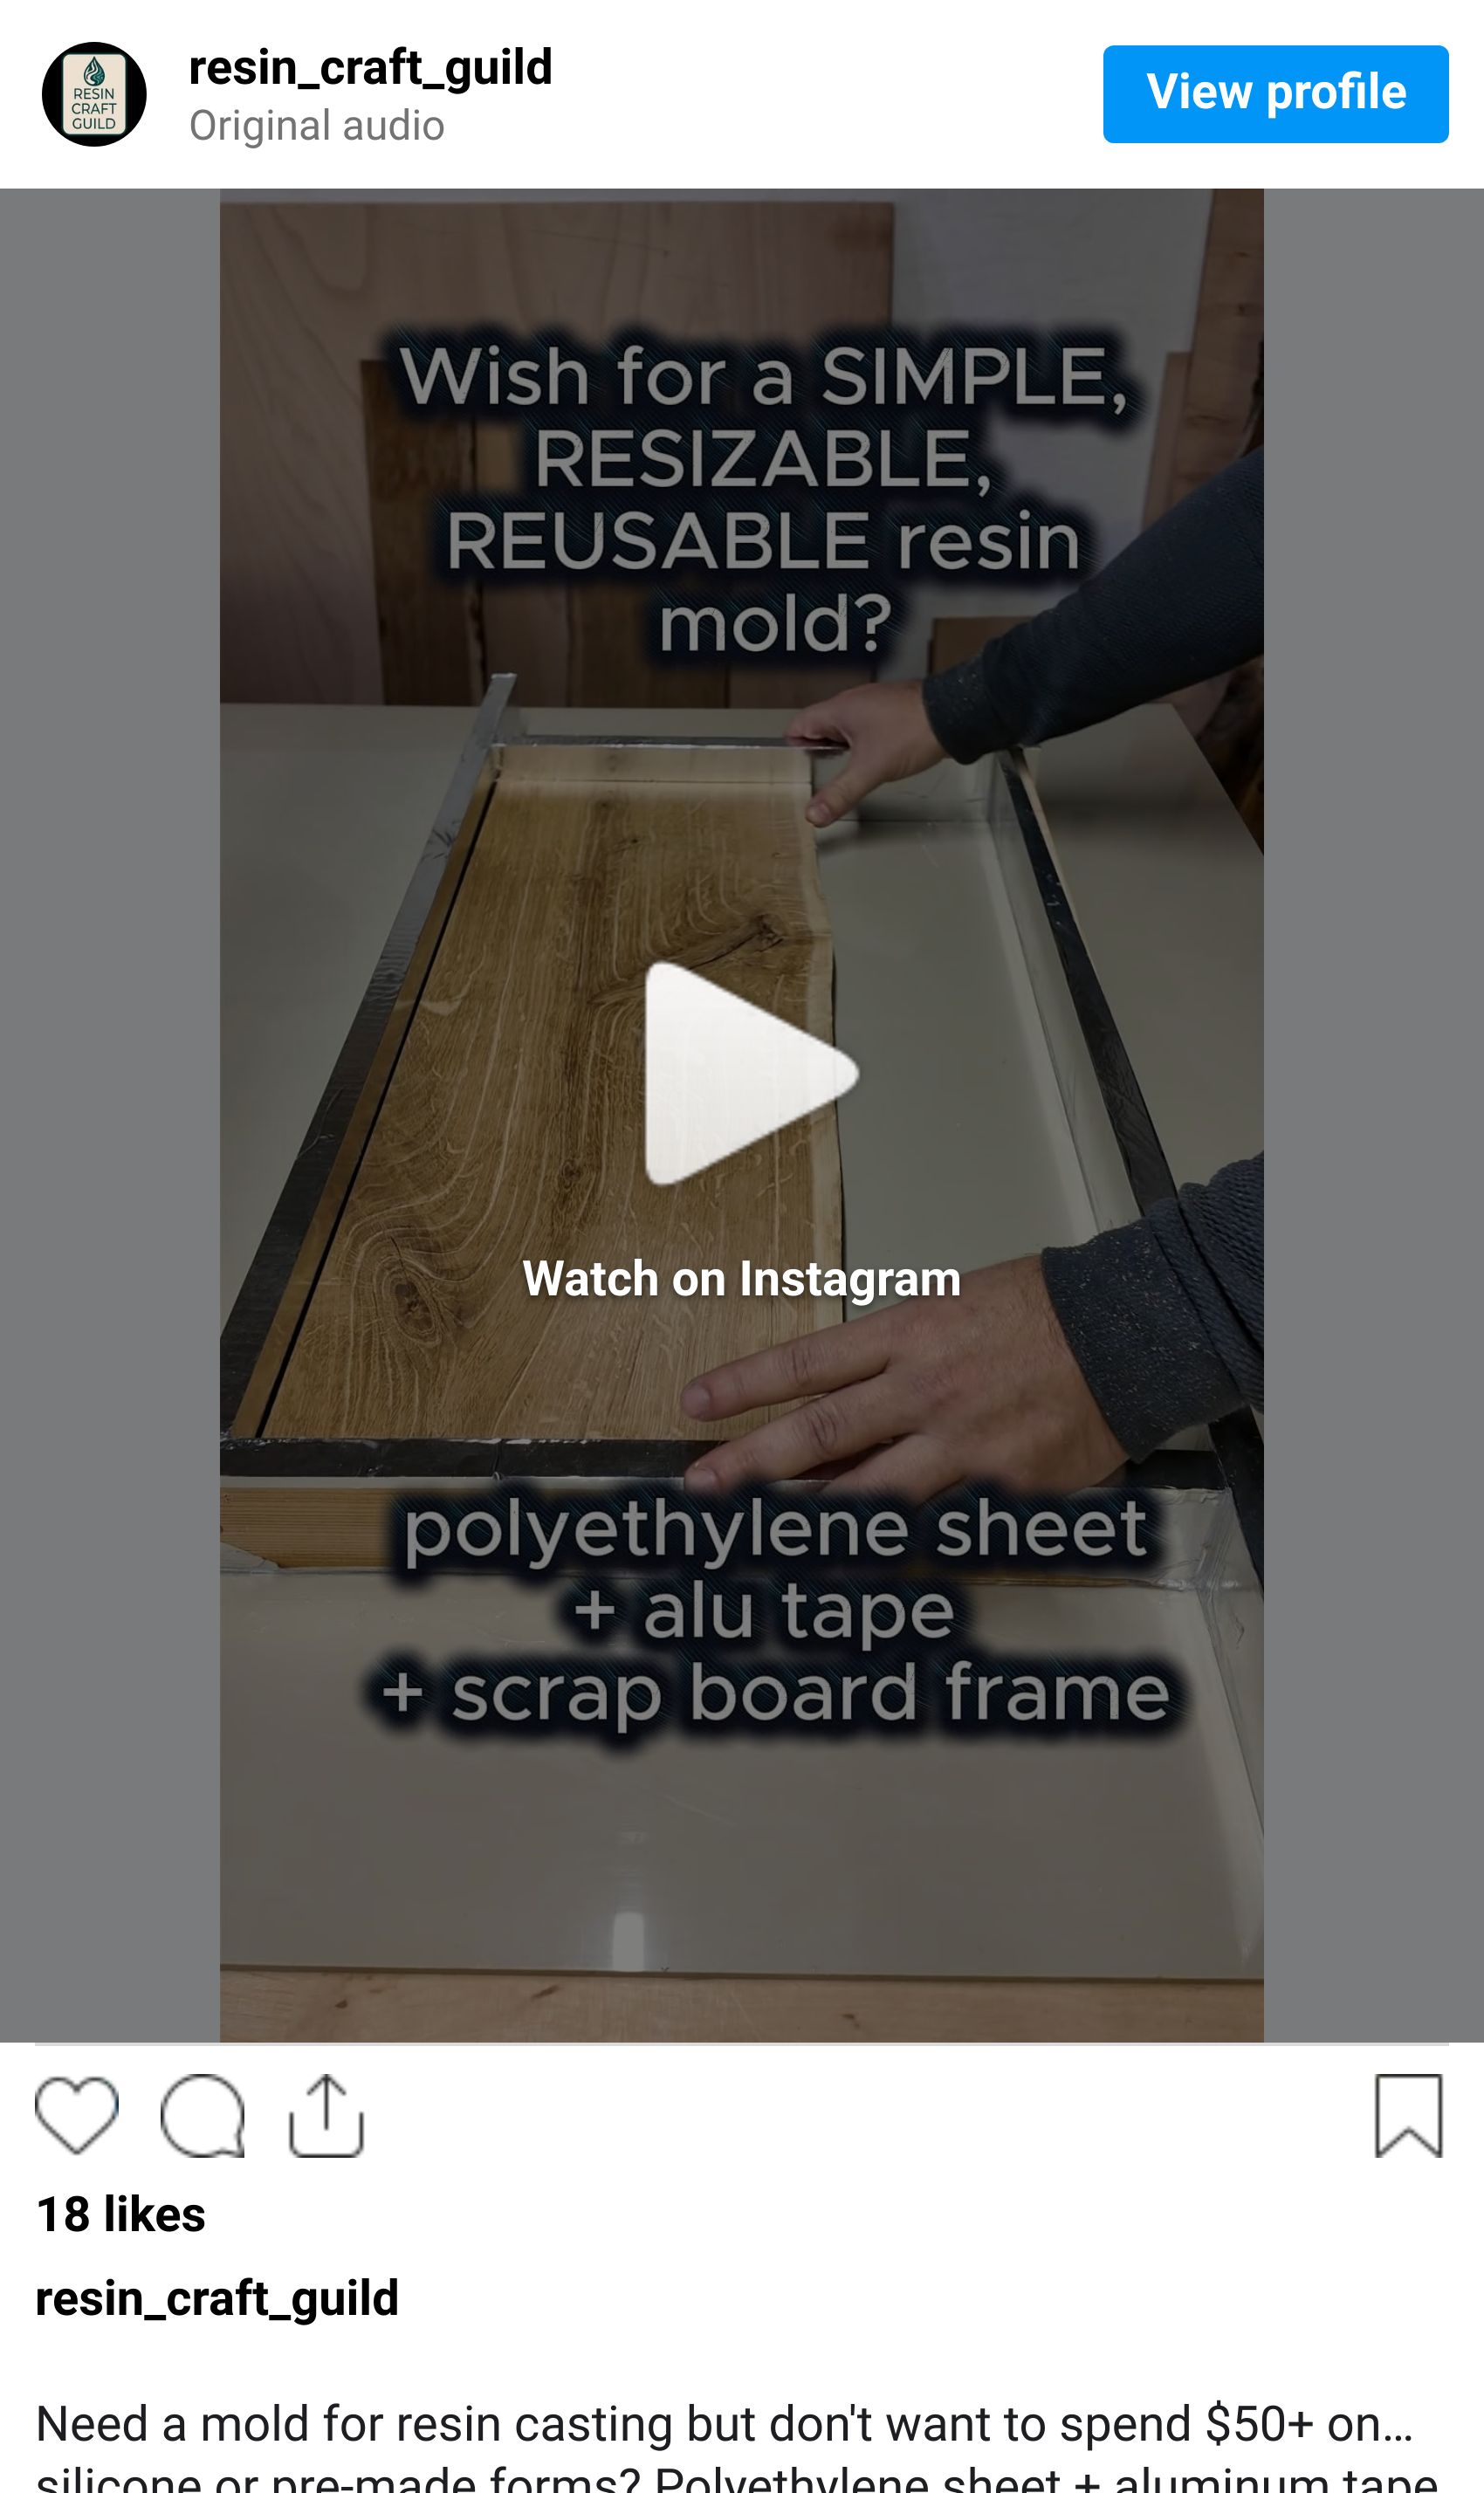
Building a casting form doesn't have to be complicated. PE sheet makes it easy - resin doesn't bond to it, so demolding is clean and the form can be reused. I posted a short video showing how I do it:
5. Save with the Guild
A couple of deals from partners where you can save on colorants and materials for your next pour.
Artline Resin - Tools, supplies, and colorants for resin and woodworking projects. Worth checking their colorant range alongside the other options here. Click the link or use code ResinCraftGuild for 10% off your entire order.
Eye Candy Pigments - Mica powders, pigment pastes, colorshift and specialty pigments for resin work. One of the most respected colorant brands in the maker community - wide color range, ships worldwide, and they offer sample sets so you can test colors before committing to full sizes. Click the link or use code resincraftguild for 10% off your entire order.
Resiners - Resin, colorants, and casting supplies. Good range of liquid pigments and mica powders alongside their resin systems. Click the link or use code ResinCraftGuild15 for 15% off your entire order.
Affiliate disclosure: Some links are affiliate links. If you purchase through them, I may earn a small commission at no extra cost to you. I only recommend trusted products relevant to the topic.
6. Shape the Guild
This week we passed 1,600 subscribers. Thank you for your support - I'll do my best to keep it worth your time.
I've been sharing several build videos on Instagram and started a dedicated YouTube channel last week. If you want more on my projects and behind the scenes, you should definitely subscribe.
Also - I finally updated the About Petr page. If you're curious about who you're actually talking to, go have a look.
Guild Startup Challenge - I'm opening signups next week. From everyone who joins, I'll personally select 3 members for a free 1:1 session: a real conversation about your specific project, your specific problem. No topic off limits. Details next week - worth watching for.
Petr Resin Craft Guild
www.resincraftguild.com
P.S. Keep the coloring questions coming - reply to this email. I read every one.